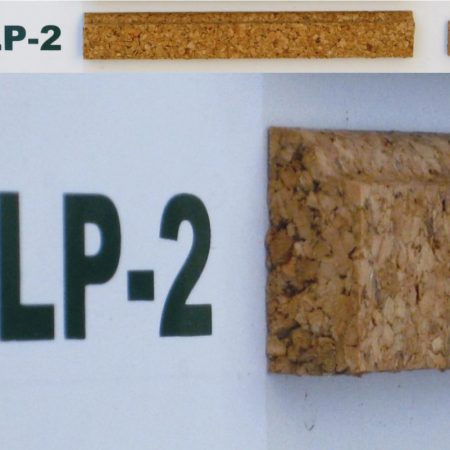
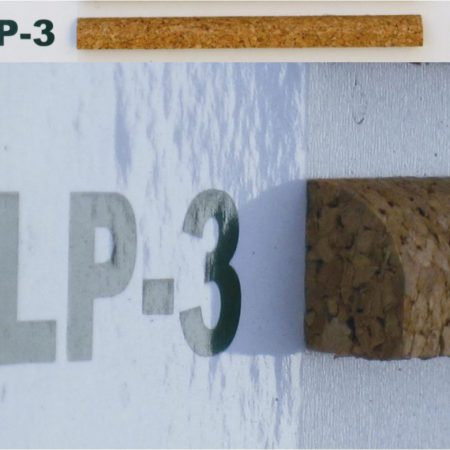
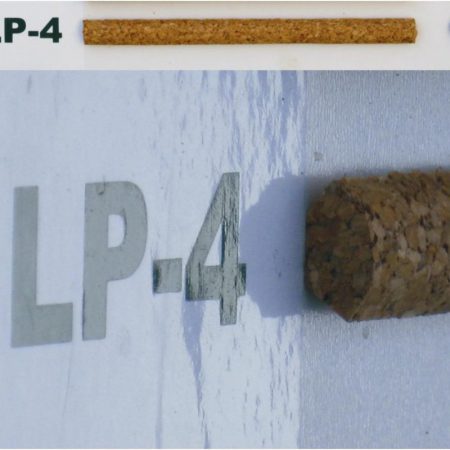
Cork slats
You can use cork strips for finishing corners for example joining the floor with a wall or two walls. If you apply cork slats, the room will have an elegant look, combined with modern, ecological design. In addition cork slats protects the wall against damage if you use it on the edges of the material.
Showing all 9 results
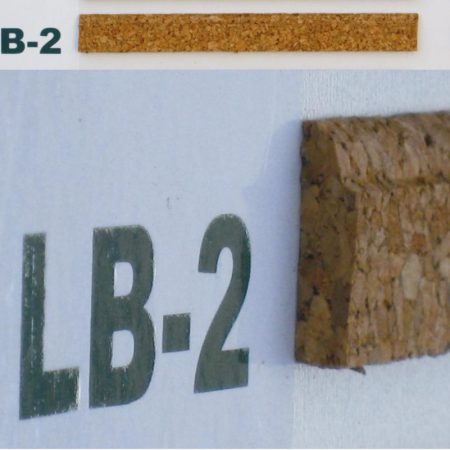
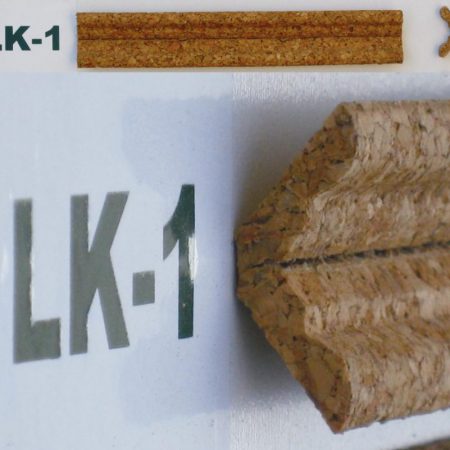
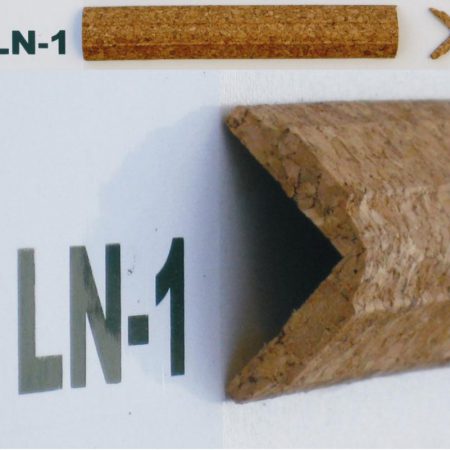
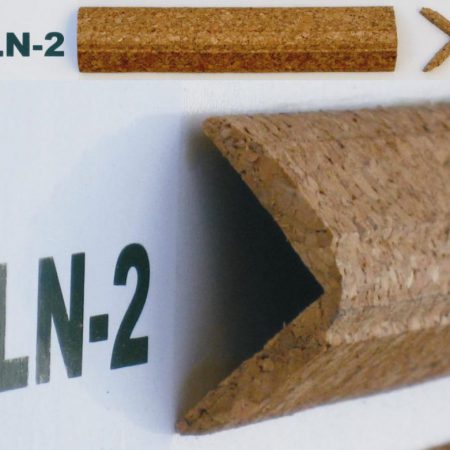

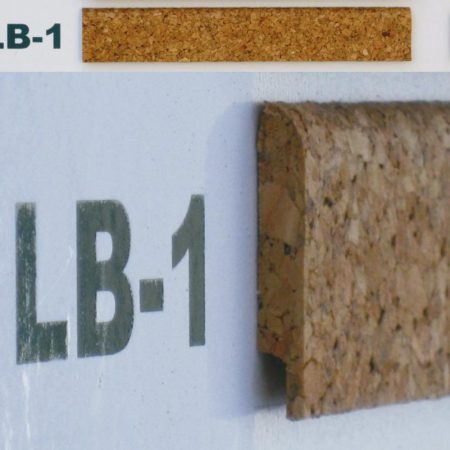
Cork skirting boards are decorative and functional elements used in the lower parts of the walls of a house or building. They are made of cork, a natural and sustainable material obtained from the bark of the cork oak. Some of the features and benefits of cork skirting boards are:
Sustainability: Cork is an environmentally friendly material because it is obtained without damaging the cork oak trees, which regenerate naturally.
Lightness: Cork skirting boards are lightweight, which makes installation and operation easier.
Thermal and acoustic insulation: Cork has natural insulating properties, helping maintain ambient temperature and reducing sound transfer between environments.
Durability: Despite its lightweight nature, cork is durable and resistant, making it a practical choice for high-traffic areas.
Variety of styles: Cork skirting boards are available in a variety of styles and finishes, so you can choose what best suits your taste and the overall design of your space.
Easy maintenance: Cork is an easy-to-clean material, wiping it with a damp cloth is usually enough to remove dirt.
Natural style: The natural look of cork can give a room an original and warm character, blending well with various decor styles.
Installing cork floorboards requires careful preparation and attention to detail to ensure a successful and lasting installation.
Tools and materials needed:
- Glue
- Hammer
- Utility knife
- Measure
- Pencil
- Saw (circular saw or jigsaw)
Installation Steps
1. Prepare the substrate:
Make sure the substrate is clean, dry and even.
If your cork flooring is not pre-attached to the subfloor, install a suitable subfloor according to the manufacturer’s recommendations.
2. Acclimatize cork strips:
Before installation, leave the cork strips for at least 48 hours to acclimatize to the temperature and humidity in the room.
3. Plan the layout:
Plan the layout of the cork strips, taking into account the direction of the boards, the layout of the room and any doors or passages to another floor.
5. Start installation:
Start from the corner of the room.
Apply the adhesive to the substrate using a trowel, in accordance with the adhesive manufacturer’s recommendations.
6. Install the first row:
Lay down the first cork strip, making sure they are flush against the walls.
7. Continue installation:
Continue to install subsequent rows, using a rubber mallet to securely connect the strips to the wall.
8. Cutting strips:
If necessary, use a utility knife to trim the moldings, ensuring proper alignment at the edges.
Install transition strips:
Install cork expansion strips in places where cork flooring meets other types of flooring or in transitions between rooms.
10. Cleaning:
Immediately remove excess glue with a damp cloth.