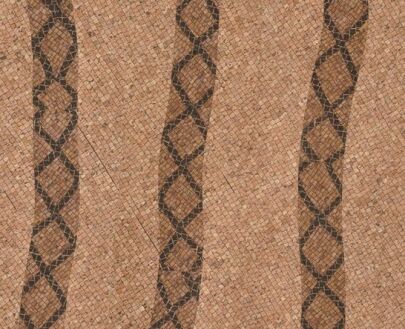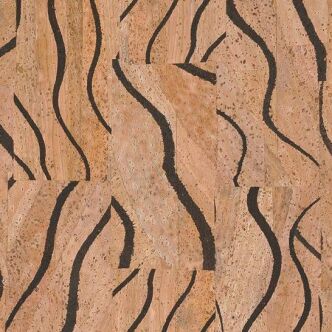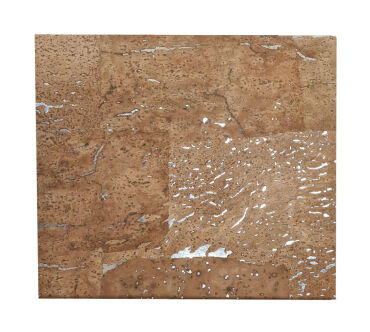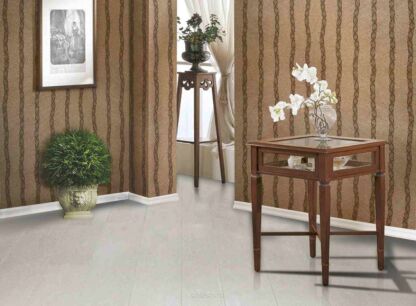
Cork Wallpaper
Cork wallpaper consists of paper medium, the surface of which is covered with thin slices of cork oak bark. Natural wallpapers made of cork are not only external, but also internal qualities. Since the bark of cork oak consists of cells filled with air, it has low thermal conductivity. As a result, cork wallpapers offer excellent thermal insulation and have very good insulation properties. They are particularly suitable for thermal insulation, but also for sound insulation.
Another positive feature of cork wallpaper is that they have anti-bacterial, hypoallergenic and anti-static properties – ideal for allergy sufferers and asthmatics. Because dust particles do not adhere to them, they are very easy to care for. Wallpaper should not be wet cleaned and in the case of fresh stains, we recommend cleaning with a slightly damp cloth.
Cork wallpapers are very durable, flame retardant and resistant to light, even in constant light. Slight damage caused by bumps or scratches are not noticeable in the natural structure of the cork.
Showing all 4 results
Where to use natural cork wallpaper?
Natural cork wallpaper can be a striking decorative element, adding warmth, texture and unique character to various rooms in your home. Here are some places where you can use cork wallpaper:
Living room or living room:
Cork wallpaper can be used as a decorative element on one of the walls, adding coziness and natural charm to the space, especially around the seating area, fireplace or TV.
Bedroom:
In the bedroom, cork wallpaper can create a cozy and relaxing environment. It can be used on one of the walls behind the bed or as an element of decorative recesses.
Kitchen:
Although cork wallpaper is not a typical choice for the kitchen, it can be used on the wall above the kitchen counter, creating an interesting contrast with the kitchen furniture.
Hallway or hall:
Cork wallpaper can give a hall a warm and pleasant character, especially if it is used on a wall in a place that is visible immediately after entering the house.
Home office:
In a home office, cork wallpaper can create an atmosphere that encourages focus and creativity. It can be used against the background of a desk or as a decorative element around shelves.
Children’s room:
In a children’s room, cork wallpaper can be an interesting design element. This is also a safe option because cork bark is naturally soft.
Bathroom:
Although cork wallpaper is not recommended for high-humidity areas, in some bathrooms it can be used on a wall that is not directly exposed to water.
Shop, cafe or commercial space:
Cork wallpaper can also be used in commercial spaces such as shops, cafes and offices to give them a warm and friendly look.
When choosing cork wallpaper, it is worth paying attention to general interior design concepts and style preferences in order to create a coherent and harmonious space. In addition, it is worth considering whether cork wallpaper will be used on the entire wall or only in a specific area to achieve the desired decorative effect.
How to glue cork wallpaper?
Installing cork wallpaper is a relatively simple process, but requires careful preparation and attention to detail. Here are general instructions for installing cork wallpaper:
Materials and tools needed:
- Cork wallpaper
- Wallpaper glue (suitable for cork)
- Measure
- Utility knife or wallpaper knife
- Straight edge or smoother wallpaper
- Roller or paint brush
- Plastic cloth or newspaper
Prepare the wall:
Make sure the wall is clean, smooth and free from dust and debris. If there are any imperfections, they should be patched with putty or putty and the surface sanded.
Measure and cut:
Measure the height of the wall and cut the cork wallpaper accordingly, leaving a few extra centimeters at the top and bottom for adjustments. To make precise cuts, use a straight edge and a utility knife or wallpaper cutter.
Apply glue:
Place the cut cork wallpaper on a flat surface, pattern side down. Apply wallpaper glue to the back of the cork using a roller or brush, ensuring even coverage. Allow the adhesive to set according to the manufacturer’s instructions.
Reservation:
“Reservation” is the term used to describe the process of allowing the adhesive to penetrate and activate the wallpaper. Place the glued sides of the wallpaper together, with the adhesive side facing each other, and leave for the recommended time.
Hang wallpaper:
Carefully unfold the reserved wallpaper and attach it to the wall, starting from the top. Align the edges with the vertical line marked on the wall. Use a smoother wallpaper to eliminate air bubbles and ensure a smooth application.
Trim the excess:
Using a utility knife or wallpaper cutter, cut off excess wallpaper at the top and bottom. Be precise, especially around corners and edges.
Repeat for additional strips:
If your wall requires multiple strips of cork wallpaper, repeat the process, making sure the patterns and edges are properly aligned for a uniform look.
Press and smooth:
Use smoother wallpaper or a clean, dry cloth to press the wallpaper against the wall, eliminating any air bubbles and wrinkles. Work from the inside out.
Clean excess glue:
Remove excess glue with a damp sponge or cloth. Be careful not to damage the wallpaper when cleaning.
Allow to dry:
Wait until the installed wallpaper is completely dry before moving or adding furniture. Follow the adhesive manufacturer’s instructions for recommended drying time.
Tips:
Pay attention to the alignment of the pattern, especially if the cork wallpaper has a noticeable pattern.
Work carefully around corners and outlets, making precise cuts for a clean finish.
To protect the floor against spilling glue, use spread newspapers or painting foil.